
In the evolving world of digital photography and image editing, photeeq lens flare has become a popular tool among photographers and graphic designers. Whether you’re a seasoned professional or a budding enthusiast, understanding how to use photeeq lens flare effectively can elevate your photos from good to extraordinary. This article delves deep into what photeeq lens flare is, how it works, and how it can enhance your visual storytelling.
What Is Photeeq Lens Flare?
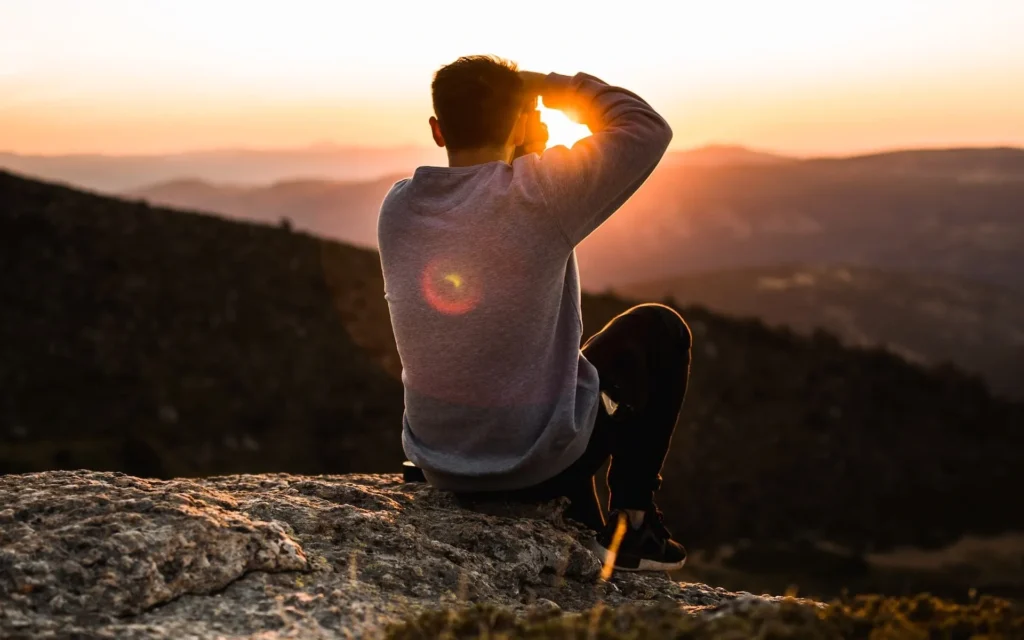
Photeeq lens flare refers to a digital effect used within the Photeeq software or plugin suite, which mimics the light flare typically caused by bright light sources like the sun or studio lights reflecting through a camera lens. Originally considered an optical imperfection, lens flare has evolved into a creative element that adds drama, emotion, and realism to photos.
The photeeq lens flare effect is specifically engineered to give photographers and editors more control and flexibility than traditional lens flare techniques. It allows users to manipulate the direction, intensity, color, and pattern of the flare, making it a powerful creative asset.
Origins of the Photeeq Brand
Photeeq is a name known in digital imaging tools, offering advanced photo editing features, especially in the area of lens effects. While the brand may not have the widespread recognition of Adobe or Skylum, it has carved out a niche for itself among photographers looking for customizable and high-quality effects. The photeeq lens flare is one of its flagship features, prized for its realism and versatility.
Why Use Lens Flare in Photography?
Before diving into how to use the photeeq lens flare, it’s essential to understand the purpose of lens flare in photography. Traditionally, lens flare was the result of light scattering within a camera lens system, producing haze, starbursts, or glowing artifacts.
Today, lens flare is used artistically for several reasons:
- To evoke emotion: A warm flare can add a nostalgic or romantic mood.
- To increase realism: In composite photography, adding a lens flare can make artificial lighting appear more natural.
- To draw focus: Subtle use of flare can guide the viewer’s eye to a subject.
- To enhance lighting: It can simulate environmental lighting, giving depth to flat images.
The photeeq lens flare tool is particularly suited for these tasks, thanks to its customizable nature.
Features of Photeeq Lens Flare
The photeeq lens flare offers several distinct advantages over other lens flare tools:
1. Realistic Render Engine
Photeeq uses an advanced light simulation engine, which closely mimics how light behaves through different types of lenses. This allows users to replicate lens flare as it would appear in high-end DSLR or cinema lenses.
2. Full Customization
Users can adjust:
- Flare position and angle
- Light intensity
- Flare color and opacity
- Number and shape of flare elements (ghosts, halos, starbursts)
This level of control sets the photeeq lens flare apart from standard presets found in most software.
3. Non-Destructive Editing
Photeeq lens flare effects can be applied as layers or filters, allowing for non-destructive edits. You can turn the flare on and off, re-position it, or adjust it without affecting the original image.
4. Compatibility
The photeeq lens flare tool is often compatible with popular editing software like Adobe Photoshop and Lightroom, either as a plugin or through import/export functionality.
How to Use Photeeq Lens Flare in Your Workflow
To make the most of photeeq lens flare, follow these general steps in your editing workflow:
Step 1: Choose the Right Photo
Lens flare works best in photos with:
- Direct light sources (e.g., sunsets, headlights)
- Backlit subjects
- Open skies or minimal clutter behind the subject
Step 2: Launch the Photeeq Plugin
Import your image into your preferred editing software and launch the photeeq lens flare plugin. Most versions allow for seamless integration with Photoshop or function as a standalone application.
Step 3: Adjust Settings
Using the interface, customize your lens flare:
- Drag the flare to match your light source.
- Adjust brightness to avoid overexposure.
- Choose flare elements like rings, dots, or streaks.
- Fine-tune color temperature for a cohesive look.
Step 4: Blend and Finalize
Blend the flare using opacity and masking options to ensure it feels natural. Avoid overly artificial or exaggerated effects unless the goal is surreal or abstract art.
Tips for Effective Use of Photeeq Lens Flare
While the photeeq lens flare tool is powerful, it’s easy to overdo it. Here are some tips to maintain balance and professionalism in your images:
- Use Sparingly: Less is often more. Use flare to enhance, not distract.
- Match the Light Source: Ensure the flare aligns realistically with where the light is coming from.
- Check Color Harmony: The flare color should complement the overall tone of the photo.
- Mind the Subject: Don’t let the flare obscure important parts of your image unless that’s the intention.
Artistic Applications of Photeeq Lens Flare
There are many creative ways to incorporate photeeq lens flare into your projects:
- Portraits: Add soft golden flares to outdoor portraits for a dreamy effect.
- Landscape Photography: Simulate sunset flares to enrich natural lighting.
- Urban Scenes: Create edgy night-time city shots with artificial light flares.
- Video Thumbnails: Use flares to add drama and intrigue for social media visuals.
Common Mistakes to Avoid
Even with a high-quality tool like photeeq lens flare, some common errors can detract from your final image:
- Overexposure: Too much light can wash out details.
- Unnatural Positioning: Misplaced flares break immersion.
- Ignoring the Scene’s Mood: Use warm tones for romantic scenes, cooler flares for sci-fi or horror.
- Repetitive Use: If every photo in your portfolio uses the same effect, it may seem gimmicky.
Alternatives to Photeeq Lens Flare
While photeeq lens flare is a standout tool, you might consider alternatives for comparison:
- Adobe Lens Flare (Photoshop): Simple, but lacks customization.
- Knoll Light Factory: Offers cinematic-quality flares but at a higher price.
- Lightroom Presets: Useful for batch editing but less dynamic.
- After Effects (for video): Great for motion graphics but not photo-focused.
Even with these options, many photographers return to photeeq lens flare for its blend of power, ease, and quality.
Conclusion
In the world of visual storytelling, lighting is everything—and mastering tools like the photeeq lens flare can set your work apart. Whether you’re adding a subtle golden glow to a portrait or crafting an otherworldly sci-fi landscape, lens flare is a versatile and emotional component of photo editing.
The photeeq lens flare tool offers high customizability, realistic rendering, and compatibility that makes it an ideal choice for professionals and hobbyists alike. By using it thoughtfully and sparingly, you can transform ordinary images into evocative, cinematic masterpieces.
So if you’re looking to level up your editing game and add a touch of light magic to your photos, give the photeeq lens flare a try. It may just become your favorite creative ally.